Obtaining Stripe API Key
This subsection outlines the steps required to obtain your Stripe API key and integrate it into your application code. This will enable your application to process payments using Stripe's robust and secure payment platform.
Step-by-Step Instructions
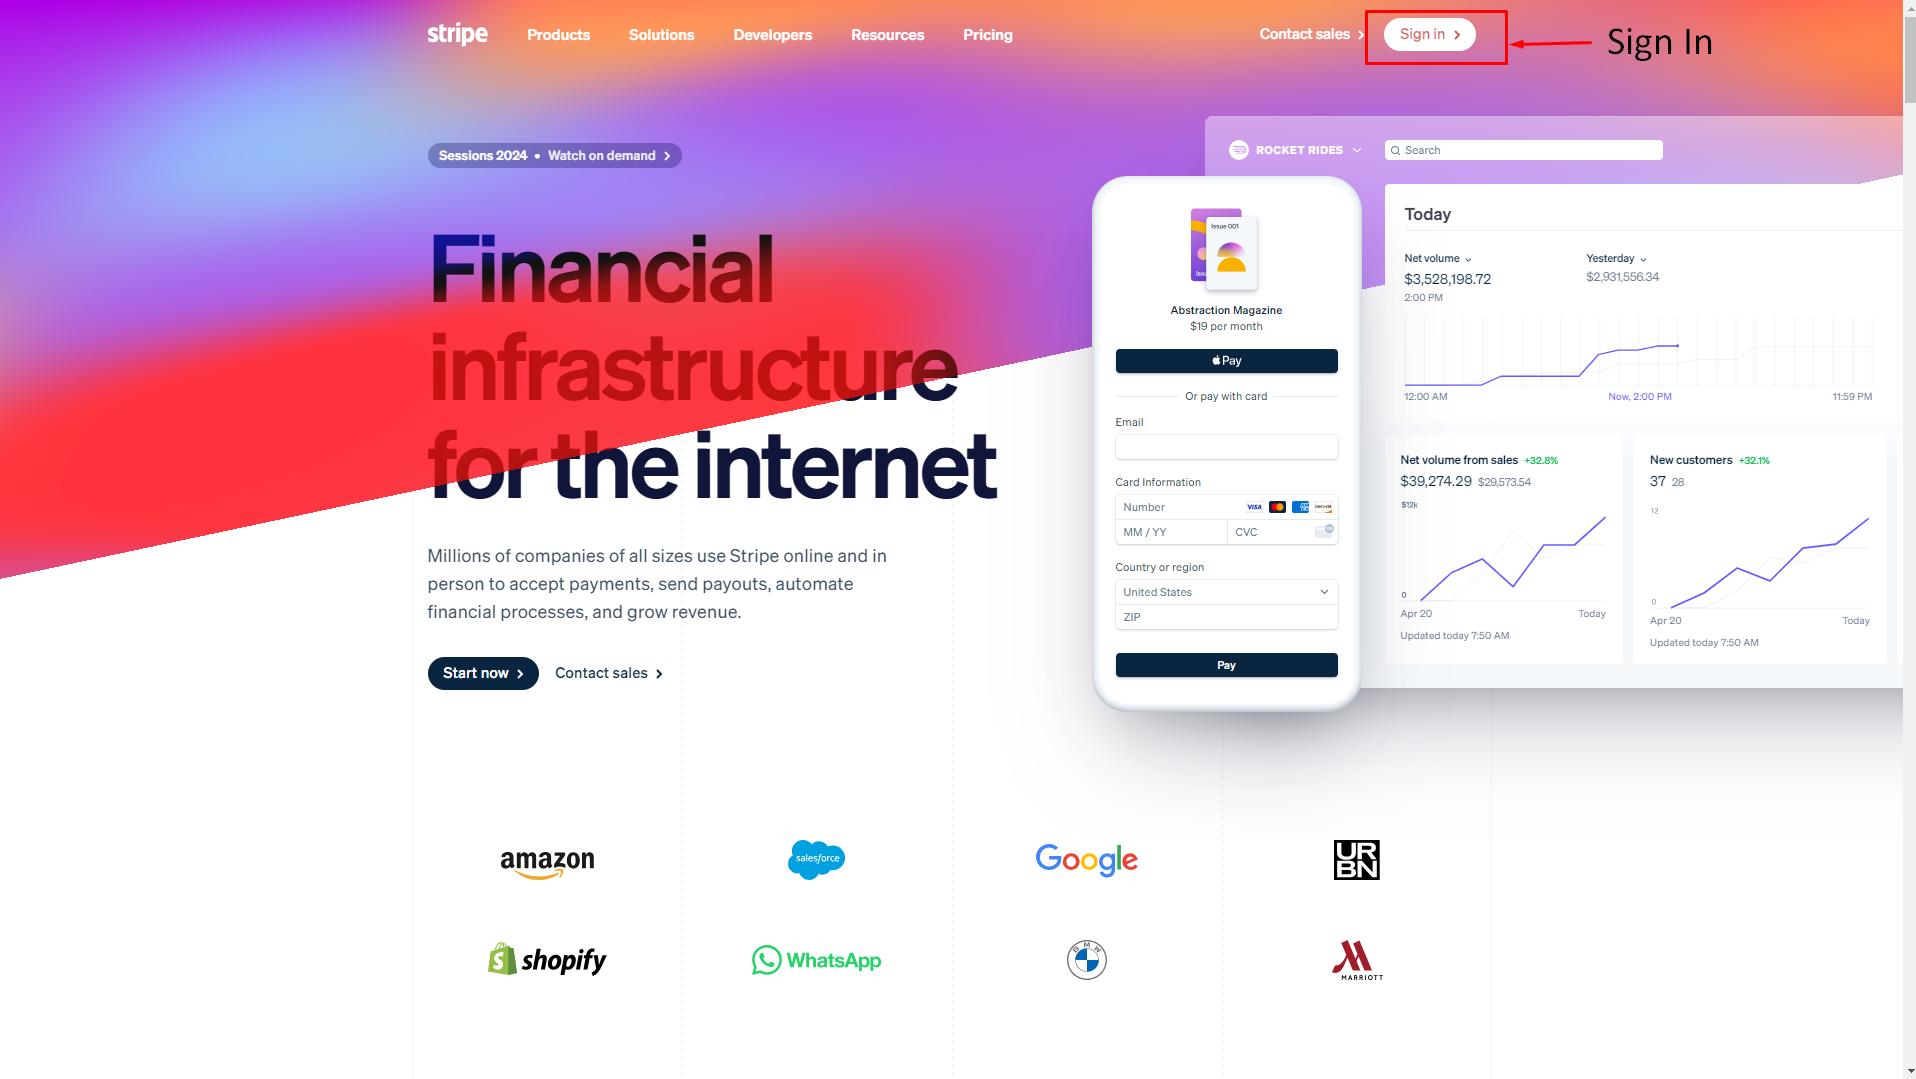
Step 1: Visit the Stripe Website
Navigate to the Stripe website by entering the URL in your web browser's address bar.
Step 2: Sign Up or Log In
If you don't already have a Stripe account, sign up for one. If you already have an account, log in to proceed.
Step 3: Access the Dashboard
Once logged in, you will be directed to the Stripe dashboard. This is where you can manage your Stripe settings and obtain your API keys.
Step 4: Navigate to API Keys
In the Stripe dashboard, find the "Developers" section in the sidebar menu. Click on "API keys" to access your API key settings.
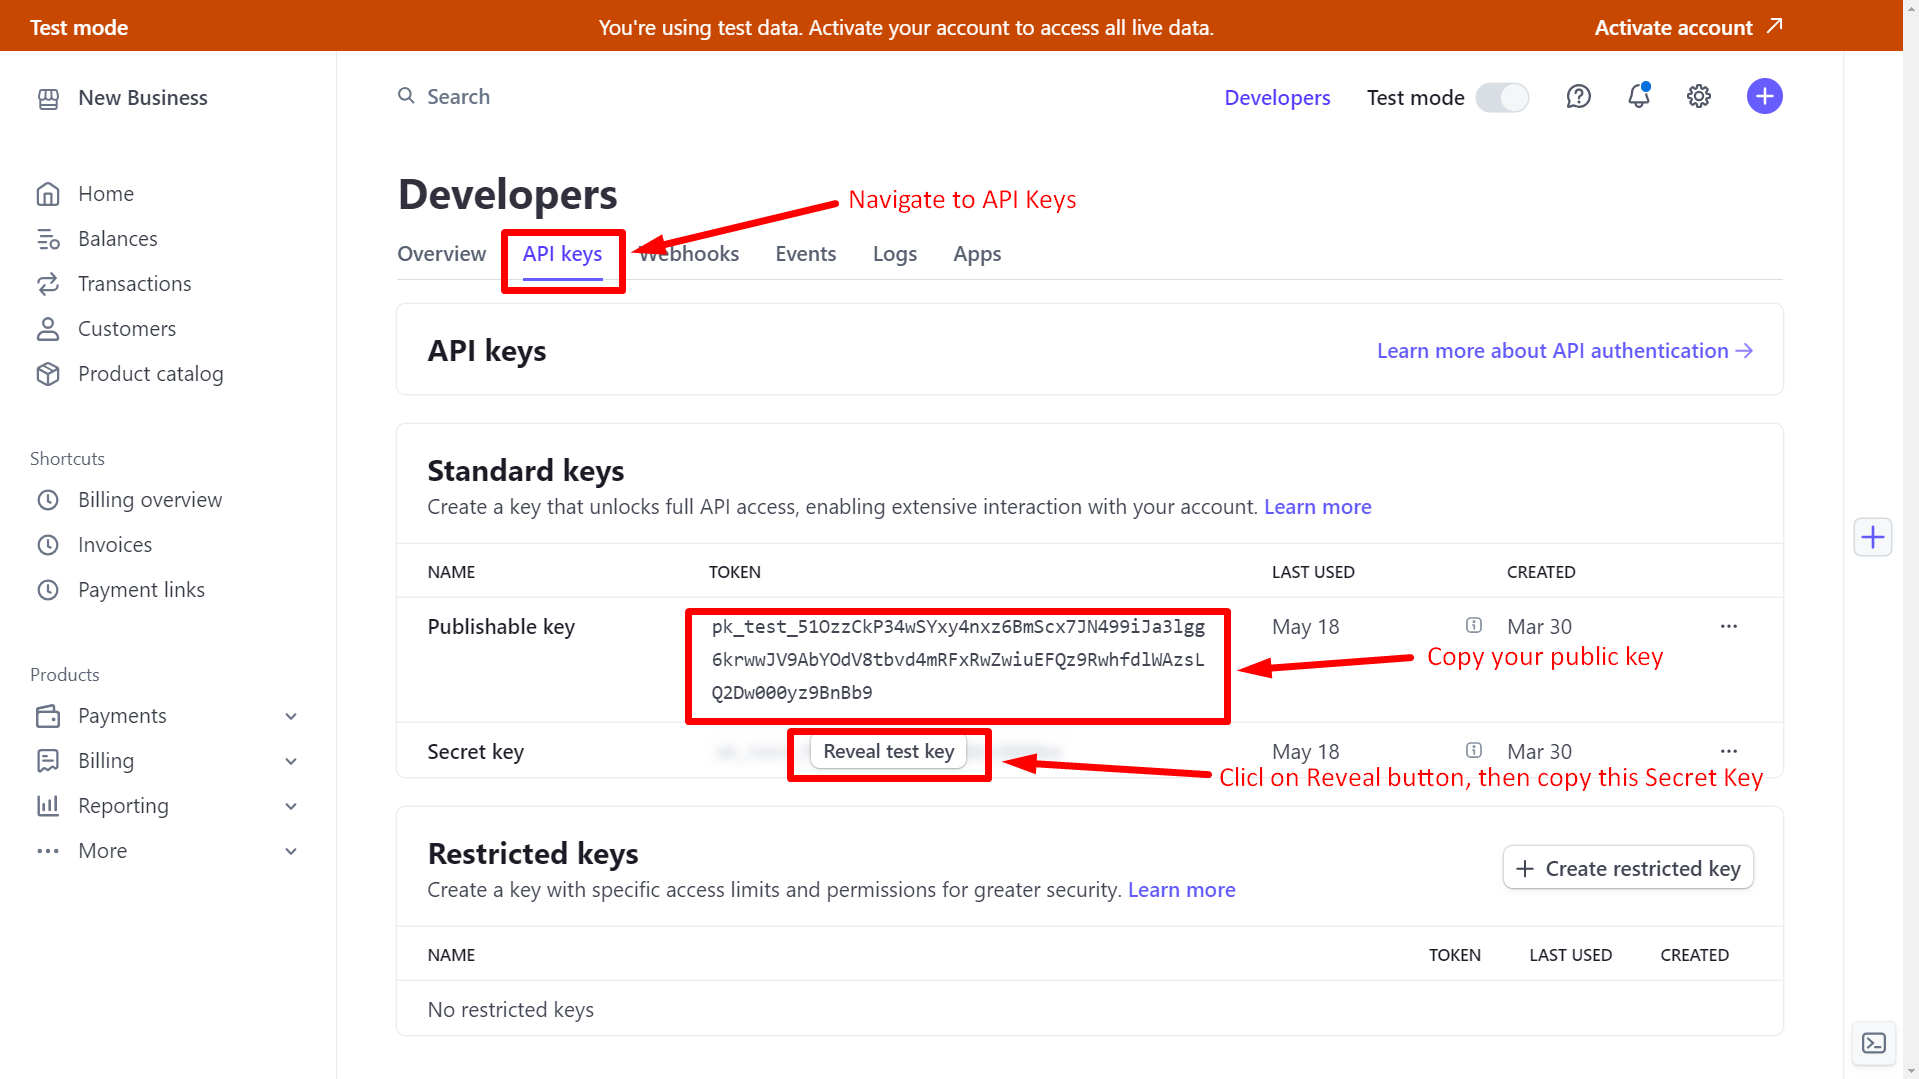
Step 5: Create a New Secret Key
In the "API keys" section, Copy your Publishable key. This is your public key. click on the "Reavel" button to get your secrete key, once get the secrete key, copy it.
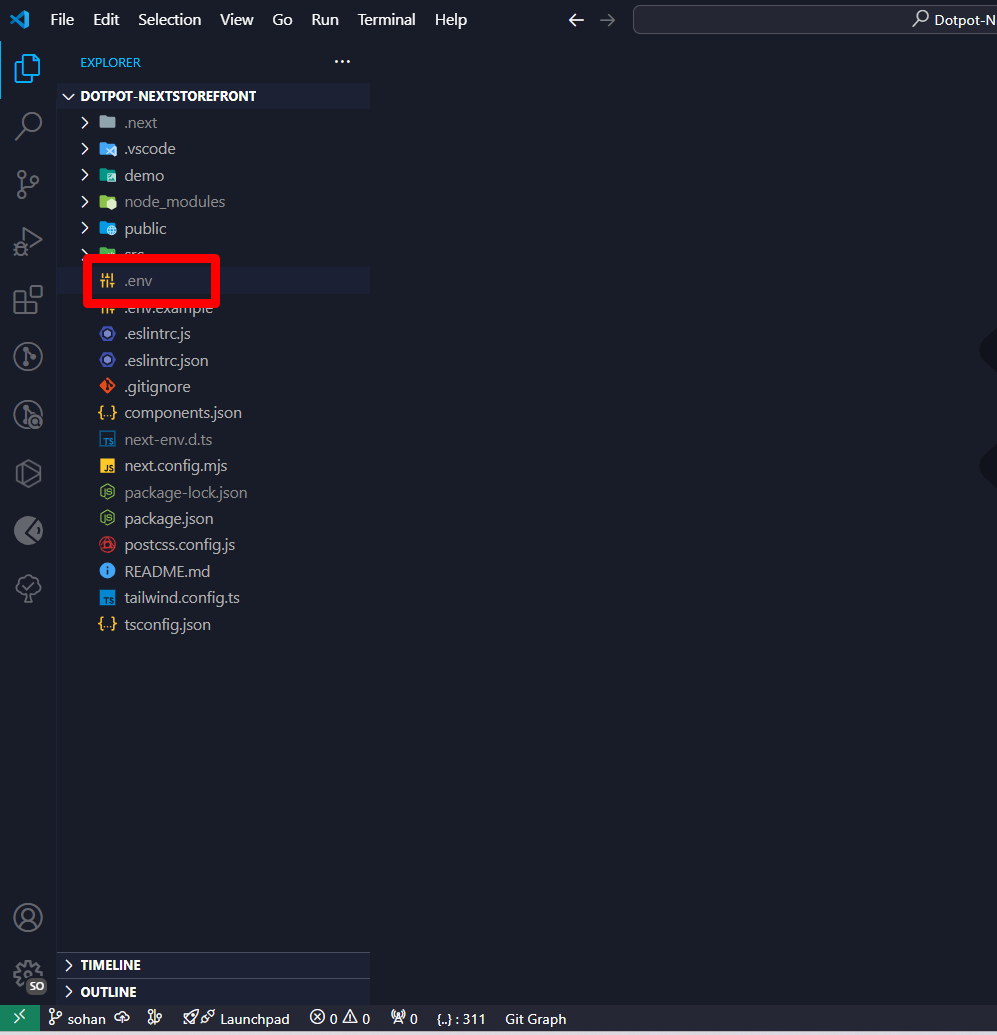
Step 6: Open Your Application Code in VSCode
Launch Visual Studio Code (VSCode) and open the codebase of your application.
Step 7: Locate the .env File
Navigate to the root directory of your project and find the .env file. This file typically stores environment variables for your application.
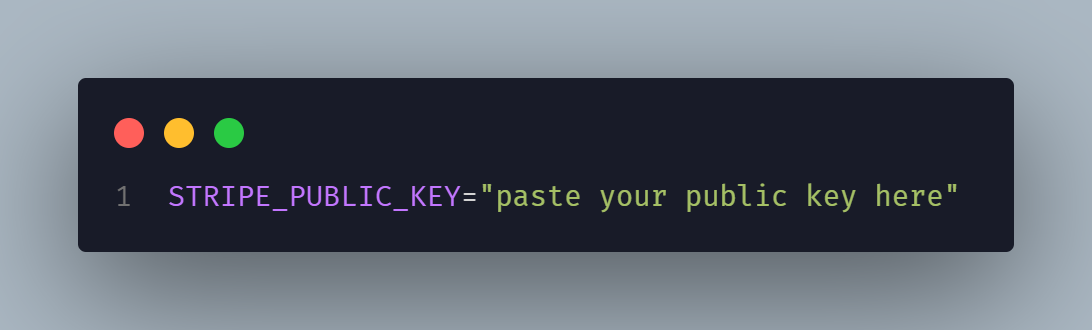
Step 8: Paste Your Stripe API Key
Open the .env file and locate the section where environment variables are defined. Paste your Stripe API key into this section in the following format:
Step 9: Save the .env File
Once you have pasted the key, save the changes to the .env file. This ensures that your application can access the Stripe API key securely during runtime.
By completing these steps, you have successfully integrated Stripe's payment functionality into your application, allowing you to handle transactions securely and efficiently.